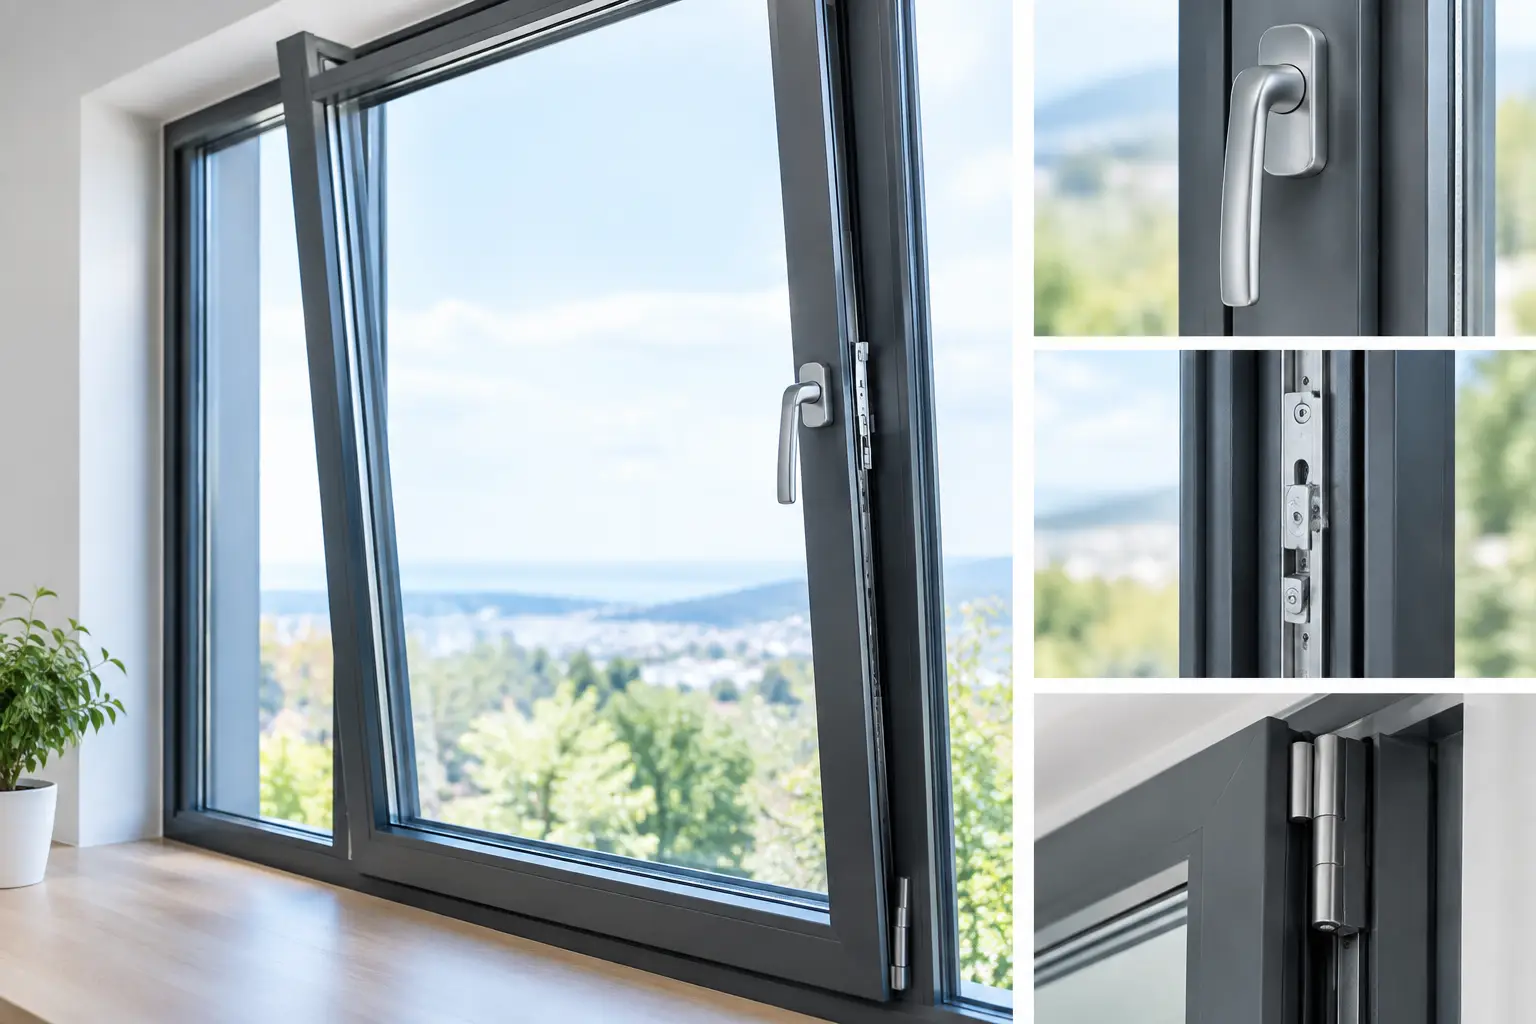
A premium window can lose much of its value at the wall opening. Triple-pane glass, insulated PVC-U profiles, thermal-break aluminum, and refined European hardware all depend on an installation that controls water, air movement, and heat loss at the perimeter. This European windows installation guide explains what homeowners, builders, and designers should expect before a high-performance window is set into place.
For Southern Ontario homes, that perimeter matters through freeze-thaw cycles, wind-driven rain, humid summer conditions, and long heating seasons. The objective is not simply to make the unit fit. It is to create a continuous connection between the window frame and the building envelope, protecting the structure while preserving the warmth, quiet, and clean sightlines that premium European-format systems are selected to deliver.
European Windows Installation Guide: The Window Is Only One Layer
A completed opening has several jobs to perform at once. The exterior must shed water. The centre of the joint must be insulated. The interior side must limit air leakage and manage vapour movement in a way that works with the wall assembly. This is often described as a three-level installation: weather protection outside, thermal and acoustic insulation in the middle, and an airtight layer toward the interior.
This approach is especially valuable with large tilt-and-turn windows, lift-and-slide doors, and panoramic glazing. These systems are engineered with tight compression seals and multi-point locking hardware. If the rough opening is out of square, the frame is distorted by fasteners, or the perimeter joint is poorly sealed, operation can suffer and water management becomes less reliable.
The installation method should always be matched to the selected system, wall construction, cladding details, and project conditions. A masonry renovation, a stucco façade, and a new custom home with exterior insulation do not receive the same perimeter detailing. Product specifications and applicable building code requirements remain the governing reference.
Start With the Rough Opening and Wall Condition
The best time to solve installation problems is before the window arrives. For new construction, the rough opening must be sized according to the manufacturer’s required clearance, not an assumed standard allowance. The opening needs to be level at the sill, plumb at both jambs, and square from corner to corner. A few millimetres of error can become significant with a wide sliding panel or a tall architectural window.
In renovation work, removing an existing unit often reveals issues that were hidden by interior trim: wet sheathing, decayed framing, missing insulation, poorly lapped building paper, or an uneven masonry opening. These conditions should be corrected before a new premium system is installed. Covering a compromised opening with a higher-performance window does not resolve the source of the problem.
The installer should also confirm where the new window sits within the wall depth. Position affects exterior trim, drainage-plane continuity, interior casing returns, and thermal performance at the jamb. On projects using thick exterior insulation or rainscreen assemblies, a window may need to be installed closer to the insulation layer rather than recessed deep within the structural wall. That decision is architectural and technical, not cosmetic.
Prepare a Drainage Path at the Sill
Water will eventually reach an exterior seal, particularly during wind-driven rain. The sill detail must provide a controlled path for it to exit rather than directing moisture into framing. A properly formed sill pan or compatible flashing membrane should be positively sloped to the exterior, extend up the jambs, and integrate with the surrounding weather-resistive barrier.
Compatibility matters. Flashing tapes, liquid-applied membranes, sealants, and housewraps must be selected as a system. Adhesion can be affected by dusty substrates, cold surfaces, damp wood, or incompatible materials. Careful substrate preparation is not an optional finishing step. It determines whether the flashing remains bonded after years of thermal movement.
Set the Frame Without Distorting It
European windows are commonly heavier than entry-level units because of triple-pane insulated glass units, reinforced profiles, larger sashes, and higher-capacity hardware. Oversized aluminum systems and sliding doors require even more planning for handling, lifting, and temporary support. The frame must be set accurately before it is permanently secured.
Installers begin by placing the frame on durable setting blocks at appropriate load-bearing locations. The sill is levelled, the jambs are brought plumb, and diagonal measurements are checked for square. Shims are positioned where they support the frame and, where required, at fixing points and hardware locations. They are not used casually to force an irregular opening into alignment.
Fasteners must suit the frame material and substrate, and spacing must follow the system manufacturer’s instructions. Over-tightening can bow a PVC-U or aluminum frame, changing sash clearances and locking engagement. Under-fastening can allow movement over time. Either condition is unacceptable on a high-performance installation.
Before perimeter insulation and interior finishes are completed, every operable sash or panel should be tested. A tilt-and-turn window should move cleanly through its opening and tilt positions, close evenly against its seals, and lock with consistent handle pressure. A lift-and-slide door should raise, travel, close, and engage its locking points without binding. Fine hardware adjustment is normal, but it should not be used to compensate for a poorly set frame.
Insulate the Perimeter Joint Correctly
The gap between the frame and rough opening is a critical thermal and acoustic zone. It should be fully insulated without compressing the frame or creating voids. Low-expansion window and door foam is often used, but the word low-expansion is essential. Standard expanding foam can exert enough pressure to deform frames and impair operation.
Depending on the assembly, installers may use mineral wool, backer rod, expanding foam, pre-compressed sealing tapes, or a specified combination of materials. The right choice depends on joint width, expected movement, exposure, frame material, and the intended air and water-control layers.
Exterior sealant is not a substitute for proper flashing. It is a final weathering component that must be installed over a correctly drained opening. Where sealant joints are specified, backer rod helps control joint depth and creates the correct bond shape. A three-sided bond can restrict movement and lead to early sealant failure.
On the interior, an airtight seal is particularly valuable. Air leakage is a common source of cold drafts around otherwise excellent windows. It can also carry indoor moisture into cold wall cavities during winter, where condensation may occur. The interior air seal must connect thoughtfully to the wall’s existing air and vapour-control strategy, especially in older homes where assemblies can vary considerably.
Protect Glazing, Hardware, and Exterior Details
A window installation is not complete when the sash closes. Glass must be inspected for damage, labels removed at the appropriate stage, drainage paths kept clear, and protective films managed according to manufacturer guidance. Leaving film on too long in direct sun can make removal difficult and may affect finishes.
For exterior applications, cladding details must preserve drainage and movement. Brick, siding, stucco, and metal panels all require different clearances and termination details. With aluminum panoramic systems, careful coordination is needed between the window supplier, cladding contractor, roofing contractor, and waterproofing trades. This is where premium projects can either look precise or reveal costly gaps in planning.
Entrance doors deserve the same attention. Insulated door slabs, multi-point locks, and threshold systems deliver better comfort and security only when the sill is supported, flashed, and aligned. A threshold that lacks proper support can flex, compromise seals, and create a recurring adjustment issue.
Final Checks Before Interior Trim
Before trim conceals the installation joint, inspect the work from both sides. Look for continuous flashing at the sill and jambs, properly lapped materials, complete perimeter insulation, and a defined interior air seal. Confirm that drainage openings and weep paths have not been blocked by sealant, foam, mortar, or exterior finish materials.
Then assess performance in practical terms. Can each sash be operated with one hand? Are reveals even? Does the locking hardware engage smoothly? Is there any visible frame deflection? On a large glass wall, do panels align cleanly and meet the sill track correctly? These checks are more meaningful than a quick visual glance from the driveway.
For homeowners, retain product information, hardware adjustment instructions, glass specifications, and warranty documentation. Premium windows need little day-to-day attention, but tracks, drainage channels, gaskets, and hardware benefit from periodic cleaning and inspection. A small adjustment made early can protect long-term operation.
A properly installed European window should disappear into daily life in the best way: rooms stay warmer near the glass, outside noise is reduced, hardware feels precise, and the architecture reads as intended. The product selection starts that result. Careful opening preparation and disciplined installation are what make it last.